Author: Tosh Lubek Published: 3rd January 2022
KitchenAcorns.com is supported by its readers. Please assume links on this site are affiliate links or ads, and that I get commissions for purchases made through these links. As an Amazon Associate, I earn from qualifying purchases. Thank you if you use any of the links.
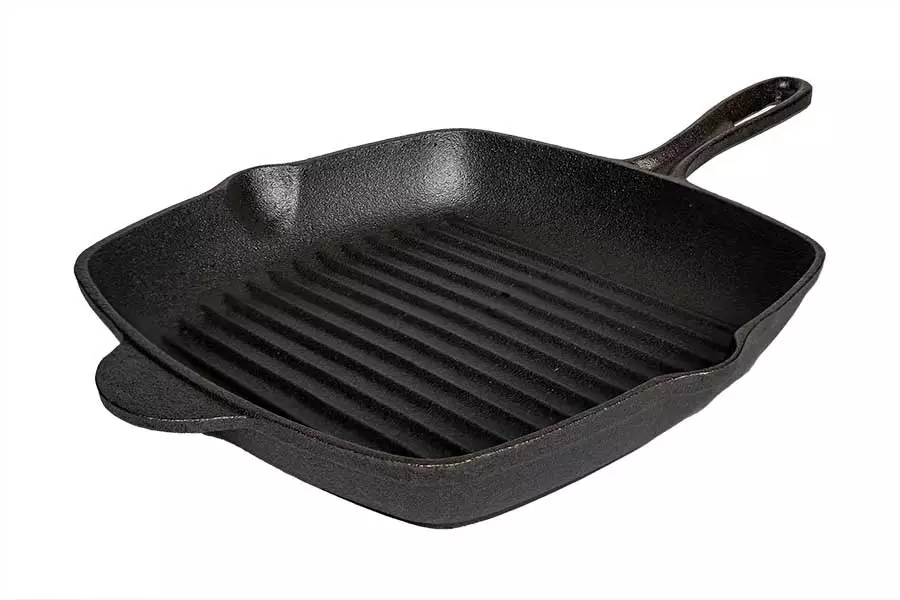
Although some manufacturers pre-season their cast iron and carbon steel cookware, it is generally a good idea to season it yourself. Seasoning will help prevent corrosion and reduce the likelihood of food sticking.
If plain stainless steel or aluminum cookware is seasoned it is purely to help minimize sticking and improve browning, since these metals do not require protection from corrosion. Other types of cookware do not require any seasoning prior to use.
To season a cast iron griddle, pan, skillet, or waffle maker, the surface is cleaned, then thinly coated with oil or fat. The cookware is then heated in an oven at 450-500°F, to form a bioplastic layer by the polymerization of the fat. Four layers of seasoning are normally applied prior to first use.
The rest of this article includes a step-by-step guide on how to season cast iron cookware. The process is basically the same, whether the cookware is a griddle, pan, skillet, or waffle iron. I also discuss suitable fats and oils for seasoning cast iron cookware later in this article.
How to Season Cast Iron Cookware
If seasoning old cast iron cookware, ensure it is stripped down to the bare metal surface and that it is clean and rust-free. This may require soaking in a bath of lye and vinegar and the use of a cast-iron scrubber or stainless-steel cast-iron cleaner. Once the cast iron has been stripped to the bare metal surface, proceed as you would with new cookware.
To season your cast iron cookware for the first time, follow these steps.
Step 1: Place a layer of aluminium cooking foil in your oven below the rack where you will place the cast iron cookware. The foil will catch any drips of fat or oil and prevent damage to the oven.
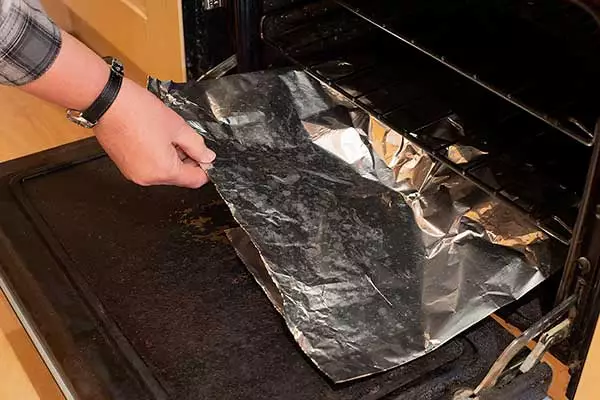
Step 2: Preheat the oven to 200°F (95°C).
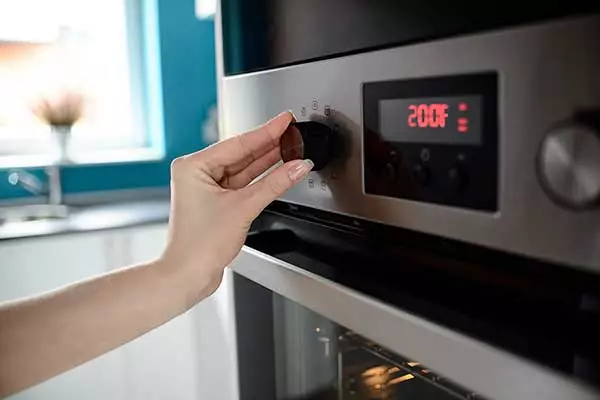
Step 3: Clean your griddle, pan, skillet, or waffle iron in hot, soapy water, using a kitchen cleaning brush or sponge. Clean both the cooking surface and the base. If you are preparing a cast iron waffle iron, separate the two halves (if possible) to make the process easier.
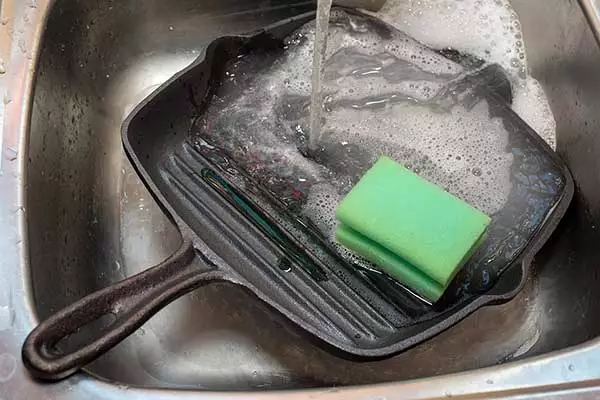
Step 4: Washing removes any factory residue on new cookware and will ensure old cast iron cookware is completely clean. Make sure you rinse it thoroughly because you don’t want to remove any residues and then leave some soap on the surface.
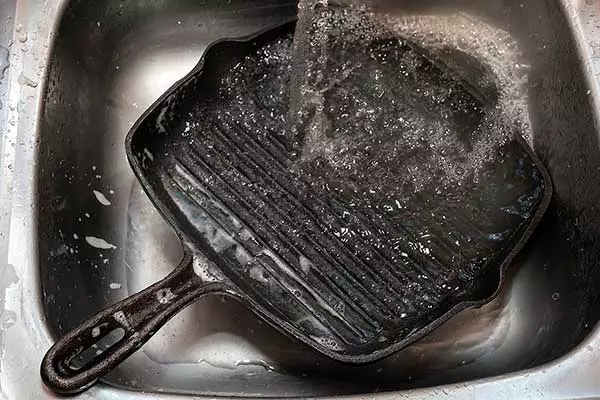
Step 5: Dry the cookware with a kitchen towel or paper kitchen roll. Then put the cookware into the preheated oven for 20 mins to evaporate any remaining moisture.
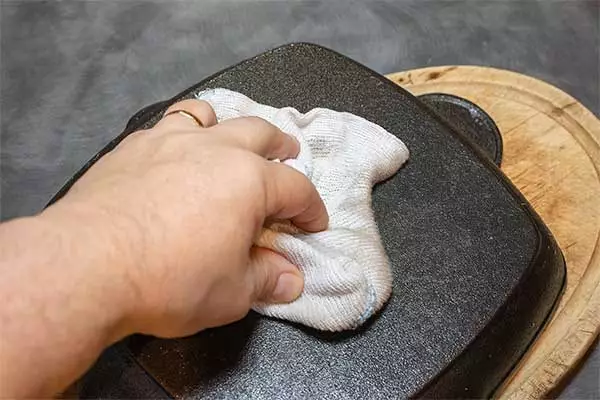
Step 6: After 20 minutes in the oven use an oven mitt or glove to remove the cookware from the oven and place it on a heat resistant surface, like a wooden board.
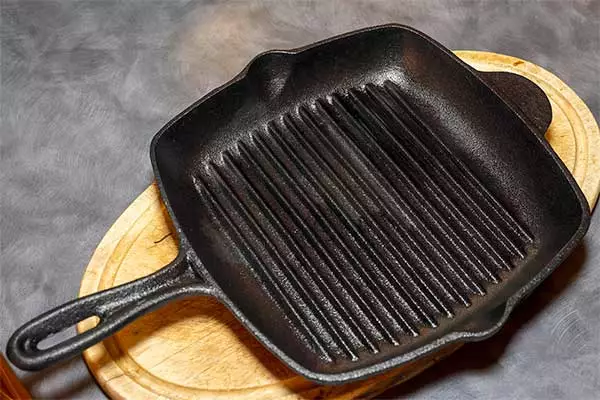
Step 7: Turn up the temperature of the oven to between 450°F and 500°F (230-260°C).
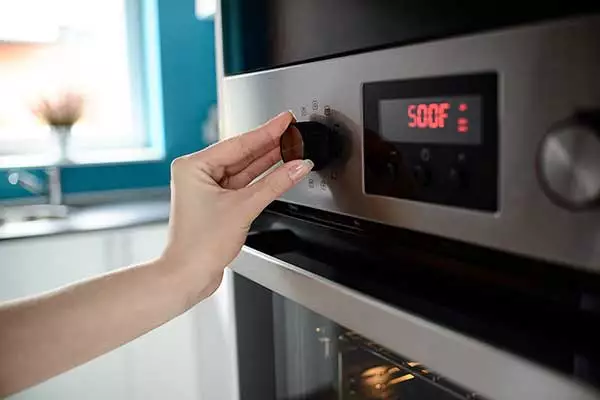
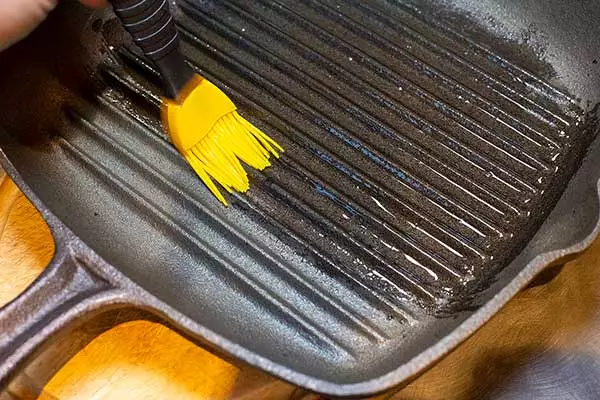
Step 8: Return to the cast iron cookware. Apply about a tablespoon of oil or fat to the warm metal surface. Then use a paper kitchen roll to rub the oil into the metal. Also, coat the underside and handle. For a cast iron waffle iron, you can also use a pastry or silicone brush to get the oil into all the grid channels and gaps to ensure a thorough coating of oil.
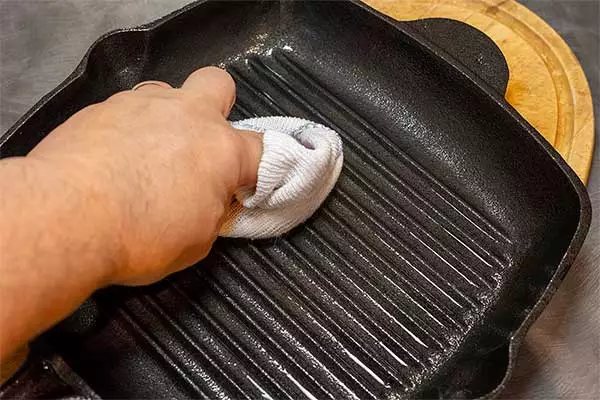
Step 9: Using a lint-free cloth, or paper kitchen roll, wipe off any excess oil. You only want a thin layer of oil to remain on the metal surface.
Step 10: Return the cast iron griddle, pan, skillet, or waffle iron to the oven, placing it on the shelf above the foil. Allow the cast iron cookware to bake for at least an hour. For best results do not open the oven while the cast iron is baking.
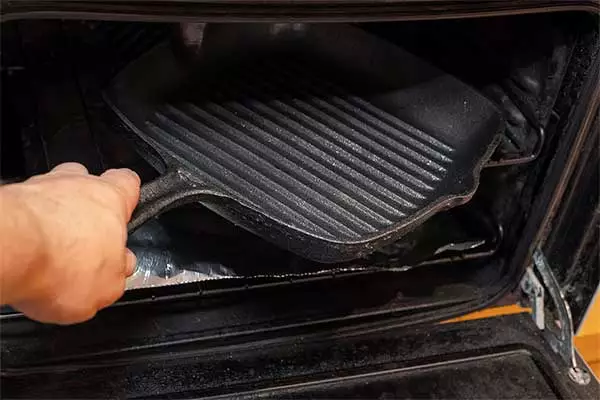
Step 11: After a minimum of one hour, turn off the oven and let the griddle, pan, skillet, or waffle iron cool in the oven. This will take at least an hour. If you find that your seasoning is a little sticky to the touch, you need to raise the temperature of the oven, and/or keep the cookware in the oven for longer.
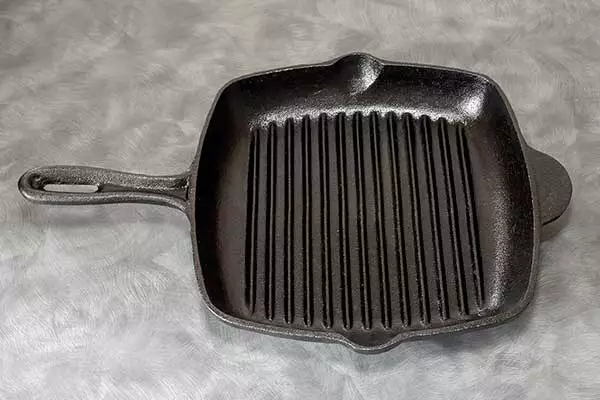
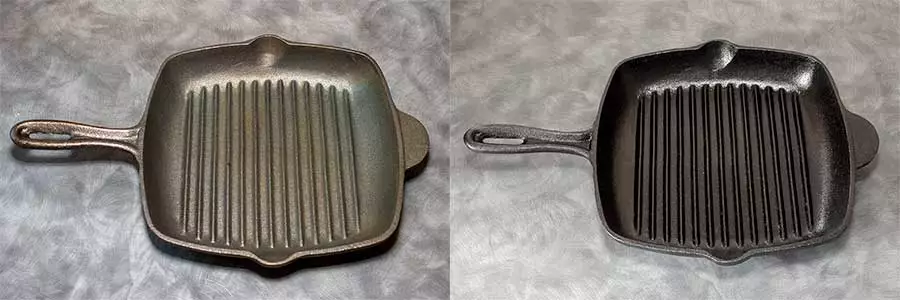
Step 12. When the cookware is cool enough to handle, repeat steps 7-11 a total of three times. You want to have seasoned the cast iron cookware a total of four times. This will start the formation of the protective layer on the surface, which should begin to appear darker than the original surface.
What oil should you use to season a cast iron cookware
Many fats and oils can be used to season cast iron cookware, and in the process form a layer of polymerized oil on the surface of the metal. Oils that readily polymerize tend to be those that have more highly unsaturated fats. However, the most highly unsaturated oils also tend to produce less durable polymer layers and contain less carbon.
Flaxseed (linseed) oil, one of the most highly unsaturated oils, is recommended by many, and it does produce an extremely attractive finish to cast iron cookware. Unfortunately, the seasoning is not durable under regular use. If you collect cast iron cookware purely for display purposes, Flaxseed oil is a perfect choice to season your pans. But if you also wish to use your cast iron cookware you may wish to choose an alternative.
Some people advocate using animal fats, such as lard or bacon grease. I don’t have a problem with using either of these fats, they both work well when seasoning cast iron cookware. The main problem is that over the last few decades dieticians have advised against heavy use of animal fats. Consequently, because most of us have stopped the regular use of these fats we no longer have them available in our refrigerators.
Good options for seasoning cast iron cookware include Crisbee cast iron seasoning, Crisco all-vegetable shortening, Canola (rapeseed) oil, refined Grapeseed oil, and Sunflower oil.
What is probably more important than the actual oil or fat, is to follow the seasoning procedure without cutting corners to try and save time.
Only apply a thin layer of oil each time you season the griddle, pan, skillet, or waffle maker. A little will go a long way, so wipe off any excess. Get the oven hot (around 500°F) and bake your cast iron cookware for at least an hour. DO NOT take the cast iron cookware out of the oven when you turn down the heat, let it cool down in the oven for around an hour. Then repeat until you have at least four layers of seasoning.
Why do you need to season cast iron cookware including a waffle iron?
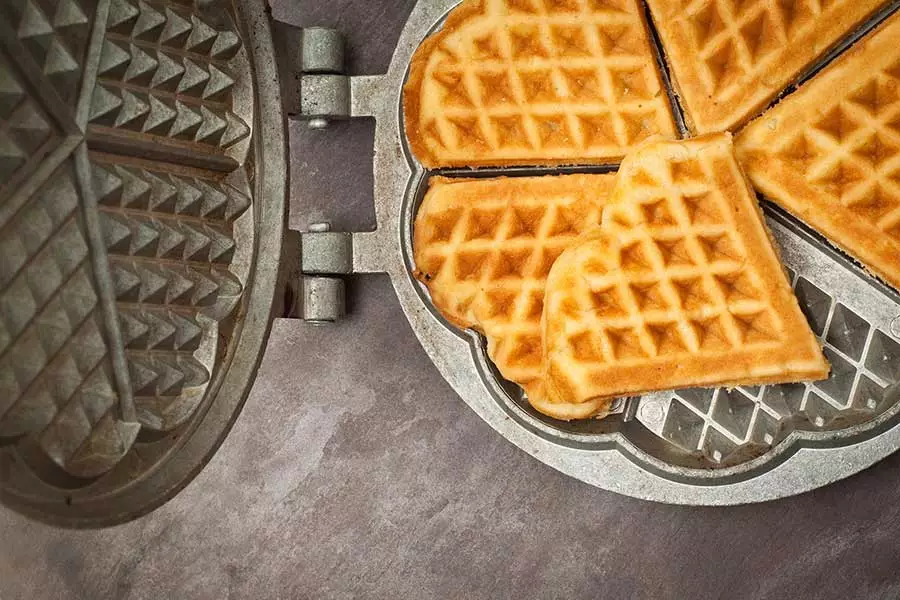
Cast-iron cookware needs to be seasoned to prevent rusting and food from sticking. The seasoning process creates a thin layer that repels water and at the same time attracts cooking oils. This layer keeps cooking food away from the bare metal, preventing it from sticking. The layer also prevents rusting.
Because seasoning cast iron cookware is not just about forming a non-stick cooking surface, the entire surface needs to undergo the seasoning process. This includes both upper and lower surfaces and the cast iron handle.
Corrosion resistance and being non-stick are obviously advantageous properties when baking, frying, or grilling with cast iron cookware.
Finally, seasoning also creates an attractive patina on the cast iron. The surface acquires a kind of sheen that also grows darker. This latter feature is due to the formation of carbon as the oil or fat is polymerized and baked onto the cast iron surface.
Maintaining the Seasoning on Cast Iron Cookware
You need to maintain the seasoned layer on cast iron cookware to prevent corrosion and food from sticking. Fortunately, all that is necessary is to keep using your cast iron cookware or waffle iron. Greasing it prior to cooking will produce additional polymerization of oil on the cooking surface. In this way, the seasoning will improve overtime as you use the cookware or waffle iron.
If you make waffles regularly, each use will help develop and maintain a non-stick surface, so you can enjoy perfect waffles every time. But make sure you do not ruin the seasoned cast iron by aggressive cleaning.
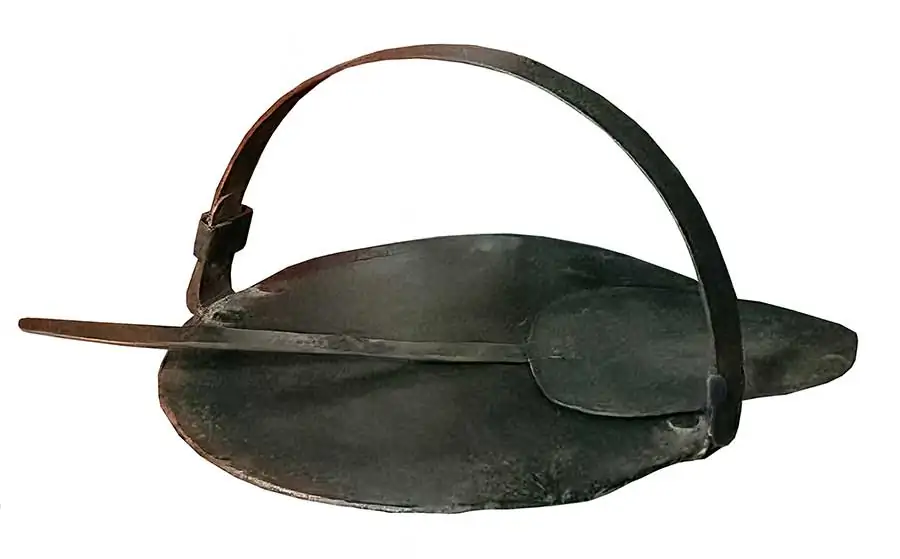
In the 1980s a lady from the Highlands of Scotland told me the secret of keeping her traditional Scottish cast-iron girdle (also known as a griddle) in perfect condition and ready for the next time it was needed to bake pancakes or scones.
The girdle was about 12-inches in diameter with a 1/4-inch thick base and a foldable half-moon handle for hanging the girdle over a peat fire (like to the image above). I later bought a similar girdle at a “farm roup” (farm auction or farm displenish sale) and used it on my stovetop. I followed her instructions for my girdle and other cast-iron cookware and have never had any problems. This is what the lady told me.
- Do not use harsh soaps or detergents to clean the cast iron, just wipe the surface clean with a damp cloth.
- Warm the cast-iron girdle over low heat and melt a tiny knob of fat on the surface.
- Use a cloth to rub the melted fat across the surface, then wipe away any excess fat.
- Allow the girdle to cool, then store it in a cupboard or hang it up.
What happens when cast iron cookware is seasoned?
When cast iron cookware is seasoned, a layer of polymerized fat forms on the metal surface, due to chemical changes of the oil when it reaches its smoke point. Carbon is also formed at the smoke point, some of which is retained in the polymer layer and enhances its non-stick properties.
It is this polymerized oil and carbon layer that creates a corrosion-resistant seal around the metal surface and that helps the cookware to be non-stick.
How long does it take to season a cast iron waffle iron?
Seasoning cast iron cookware requires the build-up of four layers of seasoning, a process that should not be rushed. Creating each layer of seasoning takes about two hours, so to fully season a cast iron waffle iron can take 8-10 hours.
How to season an electric waffle maker
A waffle maker with a non-stick coating does not necessarily need seasoning, but it can be done. First, clean the grids, then apply oil with a pastry brush, and leave. After 30 minutes switch on and set the heat to high for a further 30minutes. Finally, allow the waffle maker to cool.
The waffle maker is seasoned and can be used to make fabulous waffles.
Summary
Seasoning cast iron cookware is not a complicated process, but it does require a little effort and a few hours in a hot oven. The exact choice of oil or fat is not critical, although it is claimed that oils are better than others, with Crisco being a perennial favourite. What is more important is to keep the cast iron in a hot oven for at least an hour and then allow it to cool in the oven after the heat has been turned off.
You might also like…
- The Easiest Way to Clean a Waffle Maker
- How to Clean a Waffle Iron with Baking Soda
- Can you use non-stick cooking spray on a waffle maker?
- How To Grease a Waffle Iron Without Spray
- 5 Best Waffle Maker for a Camping Fire Stove
- How to Make Waffles in a Frying Pan
- Waffle Maker vs Waffle Iron: The difference and what you should know
Tosh learned how to cook while watching his Polish Mom at home. He also worked in a family-owned restaurant while a student and learned much from the chefs. Cooking has always interested him, especially the hearty Polish recipes he learned from his mother. He has helped create and appeared on cookery shows on radio stations in Scotland.
Recent Posts
This family pancake recipe will make about thirty-six pancakes that have a thickness of about 3/8th to half an inch and a diameter of about 4 inches. In my family, I would often prepare a batch of...
If you want to know a lot more about waffles but don’t have the time to read through loads of articles, you’re in the right place. I’ve collected together 25 of the most often asked...


