
Author: Tosh Lubek Published: 6th January 2022
KitchenAcorns.com is supported by its readers. Please assume links on this site are affiliate links or ads, and that I get commissions for purchases made through these links. As an Amazon Associate, I earn from qualifying purchases. Thank you if you use any of the links.
Have you ever wondered how to make waffles in a frying pan as good as regular waffles? Good news: if you’ve got a grill pan, you can do it! A grill pan provides ridges for your waffle, giving it the typical crispy outside and fluffy inside without the need for a waffle maker. OK, the waffles aren’t going to be exactly like waffles made in a waffle iron, but this is the next best way of making them in a frying pan. Want to give it a try? Here’s how:
- Grab the ingredients for your favorite waffle recipe. If making waffles from scratch isn’t your style, you can use a pre-prepared mix too!
- Prepare the dry ingredients by sifting them together to get rid of any lumps and add a little air.
- Prepare your wet ingredients. If necessary, separate the egg yolks and whites and beat the egg whites.
- Mix wet and dry ingredients until your waffle batter is smooth and even.
- If your recipe includes beaten egg whites, fold them into the batter.
- Preheat your grill pan until piping hot.
- Grease up your pan with oil or butter to prevent your batter from sticking.
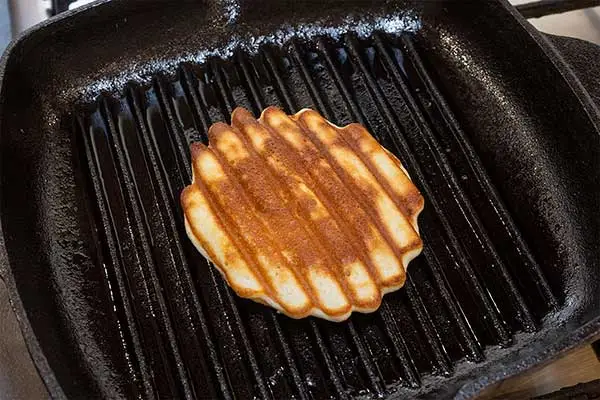
- Scoop your batter into the pan evenly—note that cooking in a grill pan creates uneven edges on your waffles, so don’t stress about making a perfect circle! The overall shape will be more like a traditional oval Liege waffle.
- Cook your waffles for three to five minutes on the first side.
- Flip your waffles and cook the other side for an additional two minutes.
- Serve and enjoy!
The rest of this article will detail the above steps and how to execute them, along with some additional information on the great pancake vs waffle debate!
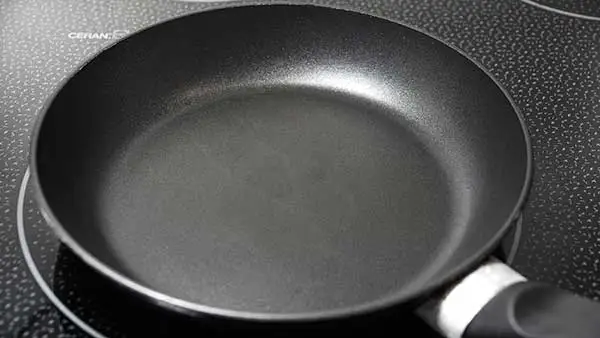
What if I don’t have a grill pan? Can I use a regular frying pan?

You can use your favorite waffle batter in a regular frying pan to make pancakes, so why not waffles?
Waffles are defined by their shape and cooking method, so using waffle batter in a regular frying pan will produce thin, crispy pancakes. They’ll be thicker than a crepe but not as thick as if you were to make them in a waffle iron. Nor will they have those pockets that are so good at holding butter and syrup. Although you can’t form little pockets with a frying pan, you can form ridges by using a cast iron grill pan. Your pan waffle will have golden brown ridges that can hold more toppings than a plan pancake can.
But because you won’t be able to simultabneously form a light crispy shell on all side the frying pan waffle will not have a crisp exterior and a fluffy inside. But you can boost that light fluffiness by beating the egg whites and folding them into the batter. You won’t have a typical waffle, but it will have plenty of waffle yumminess!
Can I make waffles in a sandwich press?
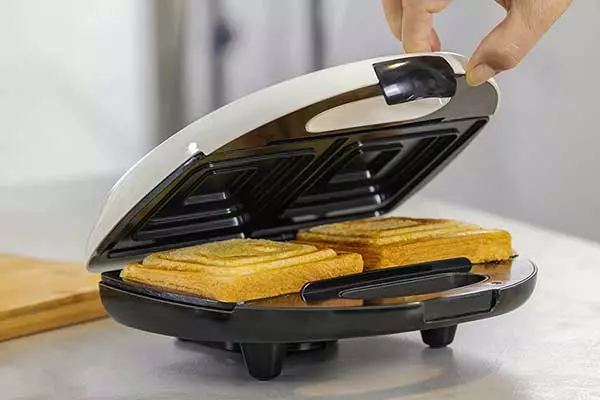
Yes! A sandwich press is textured and can cook from both sides, so your waffle will get a nice, even browning, and crispy texture just like they would in a waffle iron. Plus, there’s no need for pesky flipping in a sandwich press! However, you won’t get the square pockets that are normally associated with traditionally shaped waffles. Therefore, the waffle won’t hold syrup and butter toppings, which will tend to flow off the sides and onto the plate.
If you want to use this method, you can follow the directions presented here—minus the flip, of course!
What are the major differences between waffle batter and pancake batter?
Waffles and pancakes have a ton in common: they both contain flour, eggs, and leavening, and they’re both tasty breakfast treats. But according to Alton Brown, waffle batter has more fat and sugar than pancake batter, which makes the end product crispier and more caramelized—as waffles are known for their crunchy outsides and fluffy insides, this makes perfect sense! Waffle batter is also thicker than pancake batter and in the case of Belgian waffles (especially Liege Waffles), the batter can be more like a dough rather than a flowing mix.
Why is it important to sift my dry ingredients?
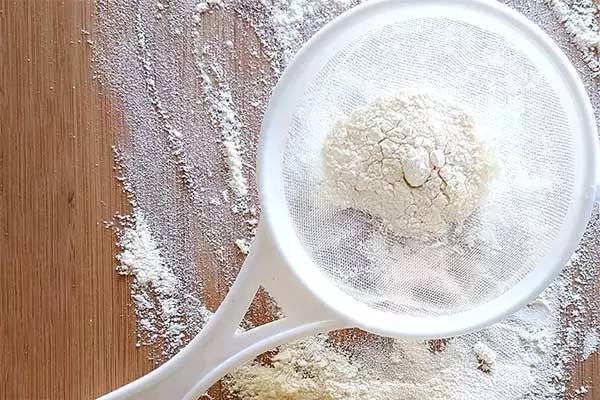
Sifting your dry ingredients before mixing will make it easier to combine them. Mixing with a whisk will also help with this. Additionally, sifting will remove lumps from your dry ingredients, preventing a not-so-tasty surprise when someone bites into your waffles!
Why should wet and dry ingredients be mixed separately before combining?
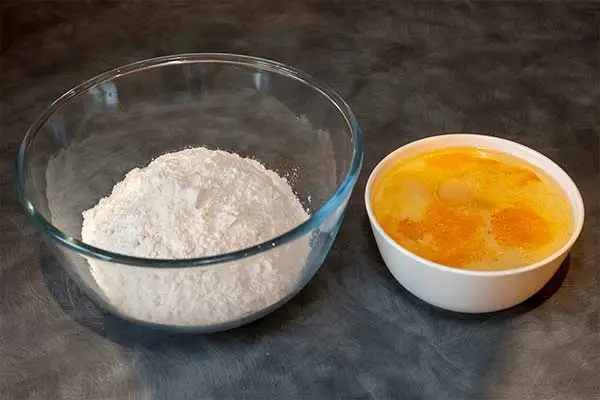
You should mix dry ingredients separately first to prevent over-mixing of the batter, which in turn can lead to too much gluten formation. You want your waffles to be light and fluffy, and too much gluten in your batter will make your waffles dense and chewy. Furthermore, the baking powder does not start producing carbon dioxide gas until it is wetted, so the benefits of the raising agent will not be wasted.
Why add beaten egg whites to the waffle batter?
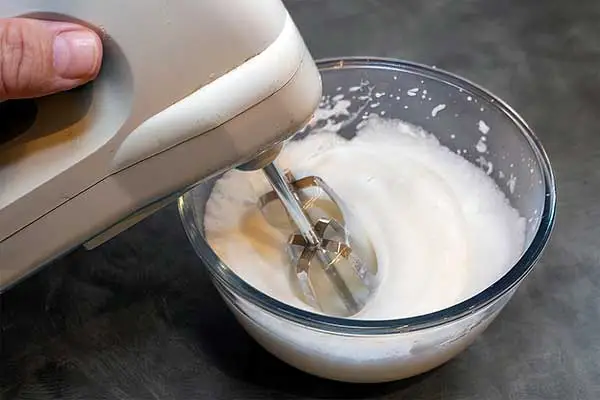
Adding beaten egg whites to the waffle batter is effectively adding air that will help make the waffles fluffy as they cook. In this respect, the beaten eggs behave like a raising agent, working alongside the baking powder in the recipe.
What is the ideal consistency of waffle batter?
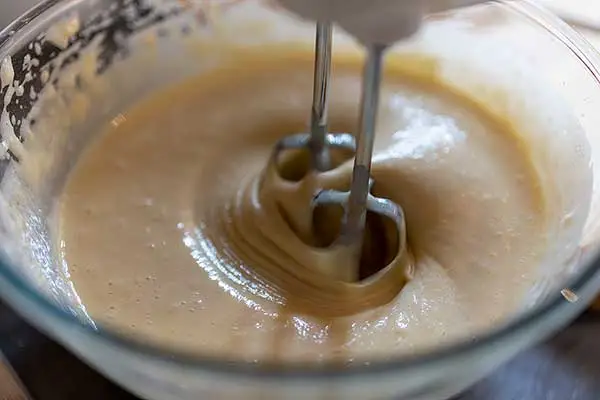
Regular American waffle batter should have a similar consistency to pancake batter, although maybe a little thicker. If you want to test your batter’s consistency, place your whisk in the bowl and lift it. If the batter clings to the whisk or is clumpy, it’s too thick. However, a batter with a watery consistency is too thin.
The consistency of traditional Belgian waffle batter, especially the batter for Liege waffles, is much thicker than American waffle batter. It can be more like bread dough, and if you place your whisk into the bowl, the batter will cling to the whisk paddles.
Why is it important to let the batter rest before cooking?
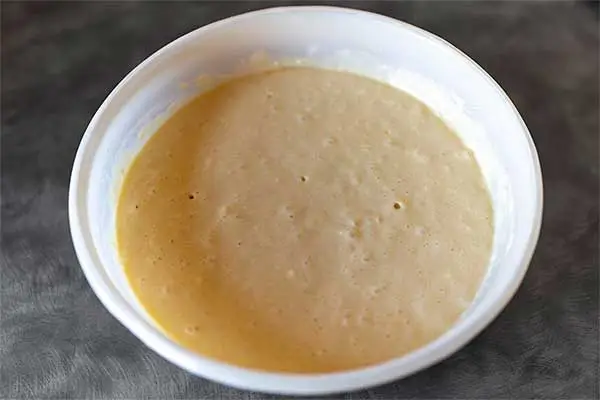
Resting the batter in the fridge for about ten minutes will help the gluten expand, producing fluffier waffles, and we all want that! You see, resting the batter allows the baking soda to start producing bubbles of carbon dioxide gas that raises the batter, making the waffle fluffy inside.
If you look at the image above you can see the bubbles of gas that have developed in the batter, some have even come to the surface and burst. So, although you should rest the batter, don’t leave it too long. Fortunately, most types of baking soda have two raising agents.
The first begins producing those gas bubbles when the dry and wet ingredients come together. The second raising agent forms gas when subjected to heat in the waffle maker or frying pan. So, even if you leave the batter to rest for too long, the waffles will still puff up and become fluffy inside.
The other reason you might need to rest the batter before use is if you decide to use yeast instead of baking powder, as you would in a traditional Belgian waffle recipe. The activated yeast needs time to begin its work of converting sugars in the batter into carbon dioxide gas bubbles, just like when you make bread dough.
Keeping your batter cooler will also prevent the inside of the waffle from overcooking once it’s in your pan.
How can I keep my waffles from sticking to the pan?
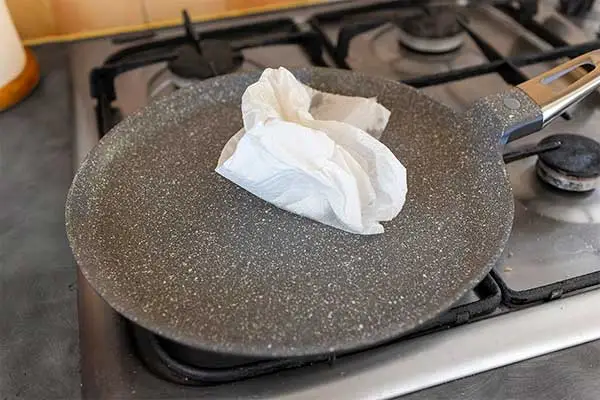
Covering your pan in butter or oil will do the trick! You can do this easily with a silicone brush or even some paper towel and spread your oil over the pan before it gets hot. You’ll know your pan is up to temperature when the oil has a slight shimmer to it.
If using a frying pan that has a non-stick coating, like Teflon, I don’t like using sprays like PAM. My experience has been that after several uses the surface gets “sticky”.
I’ve had much more success by greasing the pan with traditional fats and oils. You don’t need a lot of oil in the pan, since you’re not trying to deep-fry the waffle. I pour a teaspoon of oil on the pan, or wipe it on with a silicone brush, then spread the oil over the entire pan surface with a paper towel and remove the excess.
If my pan or appliance is non-stick, do I need to grease it?
Even if your pan is non-stick, it’s a good idea to grease it anyway. According to Tasting Table, you can follow the same guidelines as above, but you can use a smaller amount of fat—about one tablespoon should do the trick!
Why is it essential to preheat my pan before cooking?
A hot pan helps prevent foods from sticking! The heat from the pan draws moisture away from the waffle batter and allows the fat you used to grease the pan to work its magic. The heat forms the crispy bottom of the waffle, helping to seal in the moisture. While the oil (and the seasoning on the cast iron grill pan) keeps water in the batter away from the metal surface, which would otherwise cause the waffle to stick.
A cool or lukewarm pan will draw moisture to the pan and making it more likely that your batter would stick, and nobody wants that!
To help you judge whether your pan is hot enough, use the water sizzle test. Dip your fingers into some water and flick the water onto the grill or frying pan. If the small spots of water immediately sizzle and evaporate, then the pan is hot enough to start making waffles.
How much batter should I add to the pan?
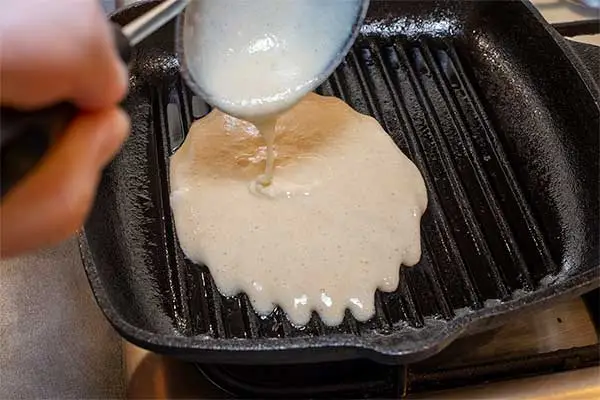
It depends on the size of your pan and how large you want your waffles! However, I use about a third of a cup of batter (almost a full standard kitchen ladle) to make waffles approximately 6 x 7 inches in size. The parallel ridges in a grill pan channel the batter in the direction of the ridges, resulting in oval waffles instead of square waffles.
The biggest thing to watch out for is the distribution of the batter—an uneven spread will produce an uneven cook, so your waffles may not be as crispy and fluffy as you would like.
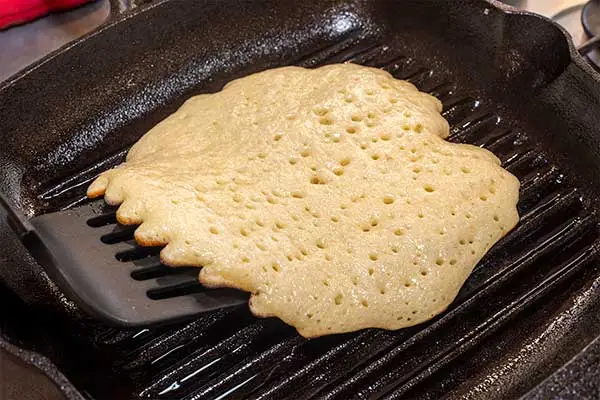
When should I flip the waffles?

There are two signs you should look for that will indicate that it is time to flip the waffle. First, look for the bubbles on the surface of the batter, they should have mostly burst open. The second sign is that the edges of your waffle should be dry and only the batter in the middle of the surface should still seem a little wet (see the above image). At this point you can use your spatula to test whether the bottom of the waffle has set before attempting to flip it; if you try to flip your waffle too early, you’ll end up with a big mess because the bottom will stick!
How should I flip the waffles?
Because of the ridges in the grill pan, the flipping technique for these waffles is a bit more advanced but also depends on your preference. The waffles can look more attractive if you flip your waffle so that the ridges are in the same direction on both sides. But even if it’s not on point, your waffle will still taste great!
This is the way I have found to be the easiest way to flip grill pan waffles. Tease the corner of a spatula or flipper under the side edge of the waffle. Work the spatula across until it is fully under one end of the waffle, like the image above. Now push the front edge of the spatula forward along the grill pan ridges, the waffle will be lifted onto the spatula without damaging the bottom of the waffle. With the waffle on the spatula, smartly flip it over and lightly press it down to engage into the ridges of the pan. But don’t press too hard, you don’t want to make the waffle flat!
How long will it take my waffles to cook?
Generally, waffles take about four to five minutes to cook on the first side and another two minutes on the second side. However, cooking times always depend on your equipment, the temperature of your stove, and how much batter you added to the pan. To combat this, do a few test waffles to get your timing right!
How can I keep my cooked waffles warm while cooking the rest of the batch?
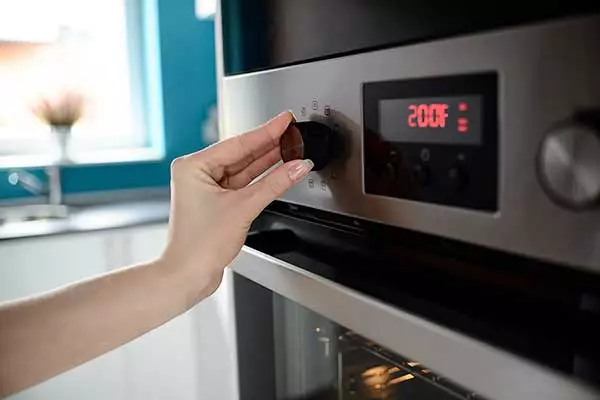
To keep batches of waffles warm, turn your oven on to a temperature of 200°F (95°C), or its lowest temperature setting, and store your cooked waffles inside to keep them nice and warm while you finish cooking. That way, nobody gets a cold waffle! Make sure you do not stack the waffles on top of each other, otherwise they can lose their crispiness.
How should I serve my waffles?
It’s up to you! You can go for the classic—maple syrup and a dollop of warm butter—or top your waffle with fruit, sugar, or chocolate chips. You could even customize each topping for each of your guests. Of course, now that you’ve mastered making waffles in a pan, you can go wild!
You might also like…
- How to eat Belgian waffles like they do in Belgium
- Why Are My Waffles Soggy? And how to fix the problem
- Are flip waffle makers better than regular waffle makers?
- How to know when waffles are done in a waffle maker or oven
- How to make crispy waffles in a sandwich maker
- Where Can I Find Waffle House Waffle Makers for Sale?
- How to make fluffy waffles with pancake mix
Tosh learned how to cook while watching his Polish Mom at home. He also worked in a family-owned restaurant while a student and learned much from the chefs. Cooking has always interested him, especially the hearty Polish recipes he learned from his mother. He has helped create and appeared on cookery shows on radio stations in Scotland.
Recent Posts
This family pancake recipe will make about thirty-six pancakes that have a thickness of about 3/8th to half an inch and a diameter of about 4 inches. In my family, I would often prepare a batch of...
If you want to know a lot more about waffles but don’t have the time to read through loads of articles, you’re in the right place. I’ve collected together 25 of the most often asked...